Showing posts with label Storage. Show all posts

Tuesday, 2 August 2016

Spacing it out

We've managed to fill up all of the hard drive space I put in the NAS (Jerry) Thankfully it hasn't been too critical and we have been able to continue as normal basically without noticing that we can't store anything more on there.

However this is something that does need to be fixed. So I bought some more hard drives. I'm using Western Digital Greens from ebay with the head park adjusted with WDIDLE3 to extend their life. I know these are not ideal drives for use in a NAS, but they are cheap and the RAID 6 configuration means that I have time for a new drive to arrive if one dies.
Here I am setting the head park idle time to reduce the number of head parks which can wear out these green drives quite quickly as the default time is very short. It makes sense when you think they are designed for absolute minimum power consumption, but it can be a problem.
I don't have a computer set up as a test bench for doing stuff like this so I have to pull some cables out of my normal use desktop.It's not too bad to have to do. But all the same having the space for a dedicated machine with swappable drive bays for this sort of thing would be nice.

Make sure you label your CD's!!! I had a dozen or so un-labeled disks I had to go through to find my boot CD. They have now all been labeled and put in a sensible spot.

The new drives are in. This means that I just need to expand the array and it will all be done, right? Not quite. Turns out that you can't expand an array using a p400 RAID controller if the battery backup for the cache is busted. Thankfully these parts can be had for only a few dollars from ebay.
The replacement part.
Drag the whole mess out.
Apparently orange = bad.
And here we have it. The new part in and all ready to go. It was a pretty simple replacement however there were one or two parts that had to be jiggled the right way to come free.
Here we are, expanding the array. Unfortunately I think the whole data set has to go through the cache on the card which is only 256 mb or thereabouts. The array is approximately doubling to about 4.5 tb which is a lot to have to shift through 256 mb. I'm expecting this should be finished copying by the end of the weekend but that is pretty much a guess.

Once the RAID card has expanded the drive I think I will need to expand the filesystem so I will do a writeup on that because I will need to remember as well.

Cheers,
Rex

Monday, 28 March 2016

Getting closer

So I finally have a space inside for me to work on the CNCs. This is a drastic improvement over where they were. outside. Where I would freeze in winter, cook in summer and be attached by mozzies at any time of the year.

I had planned to build a set of bespoke shelves that would allow me to put the servers above the machines rather than below them as you see here. However that didn't quite work out so in order to be able to actually get these inside before it gets cold I got a pair of shelves from Super Cheap Auto in town
I have not complaints about these shelves. They are fairly solid; and while I needed to give them a few taps with the hammer to get them to clip together fully that does mean that they won't be falling apart any time soon.
Each of the pieces are fairly flimsy, but once everything is together it becomes fairly rigid and I have no problems putting as much as will fit onto these shelves as inevitably will happen.

The next thing I am looking for is an old monitor that I can connect to the computer for the Lathe so I can control it and ideally a rack mount cabinet that I can fit both of the servers in along with the switch so that the cables are a bit neater and I can put them away from any possible shavings that might be leaking out of the machines.

I have a few things coming up. We got some good photos at the Lakemac Heritage festival so I will be sharing those. These CNCs will be running again very soon and I have a few things I would like to make with them that might actually happen now. And I have a Hard drive that I have been asked to destroy for data security so I will go through the details of construction with that.

Cheers,
Rex

Tuesday, 8 March 2016

There's the right way, then there's my way.

Sometimes you just can't do things the "right" way straight off the bat.
This is a great example of that. I've been trying to get Jerry (The NAS server) working so we can share files among our LAN. Unfortunately the RAID card in there doesn't like to play nicely with *BSD so I've gone back to Linux which I know. And has drivers for the card.

Unfortunately I couldn't find an easy way to boot from the USB drive that FreeNAS was using. So I had to use a normal Hard Drive. The only one I had spare with SATA was a little 2.5" laptop drive. That is fine, except I don't have 2.5" caddys for the bays in the front and I can't see any other spots to put this. So I've attached it to the backplane and you can see to do that it couldn't be sitting right on the bottom of the tray. However if I left it like that there could be problems with dust or rodents. So I slipped a normal caddy in, lifting up the front of the drive a little to slide it under.
Hmmm, a bit sketchy, but it let me test this idea without spending money or stupid amounts of time on it.

It's in the bottom tray here, just before I boot to test this. The middle caddy has my big drive and is unplugged to make sure it doesn't cause issues. The top one is just a blanking caddy.

So sometimes you can get away with doing something without having everything perfect. So don't let the fact that it's not the best way to do something don't let it stop you from doing it.

Cheers,
Rex

Thursday, 25 February 2016

Shelves for the CNC's

Even though I've been spending a fair bit of time recently playing with my computers and setting those up I am still working on my other projects. The biggest other thing I have been doing is preparing to make some shelves for the CNC mill and lathe to be put on so I can have them inside.

This is what it should look like. I sketched these up with the new CAD software at work over some lunch breaks to help familiarise myself with it.

I didn't get a picture of the stack of board before I started, but with a lot of help from +Ben O'Regan and +Nathan O'Regan we were able to rip down the sheets to a much more manageable size using a circular saw.
This was what we had after the first day. Unfortunately that had to be cut short as Nathan got caught by an offcut and we thought it prudent to stop there.
The evil piece that caught Nathan.
This is what is left of what we ripped down. We didn't fully optimize and allowed ourselves an extra length of 700mm wide just in case we made some mistakes cutting. Thankfully we didn't need this extra piece. However we do need a new saw blade. The one we had been using is pretty blunt now and wouldn't complain about being retired to use on soft pine.


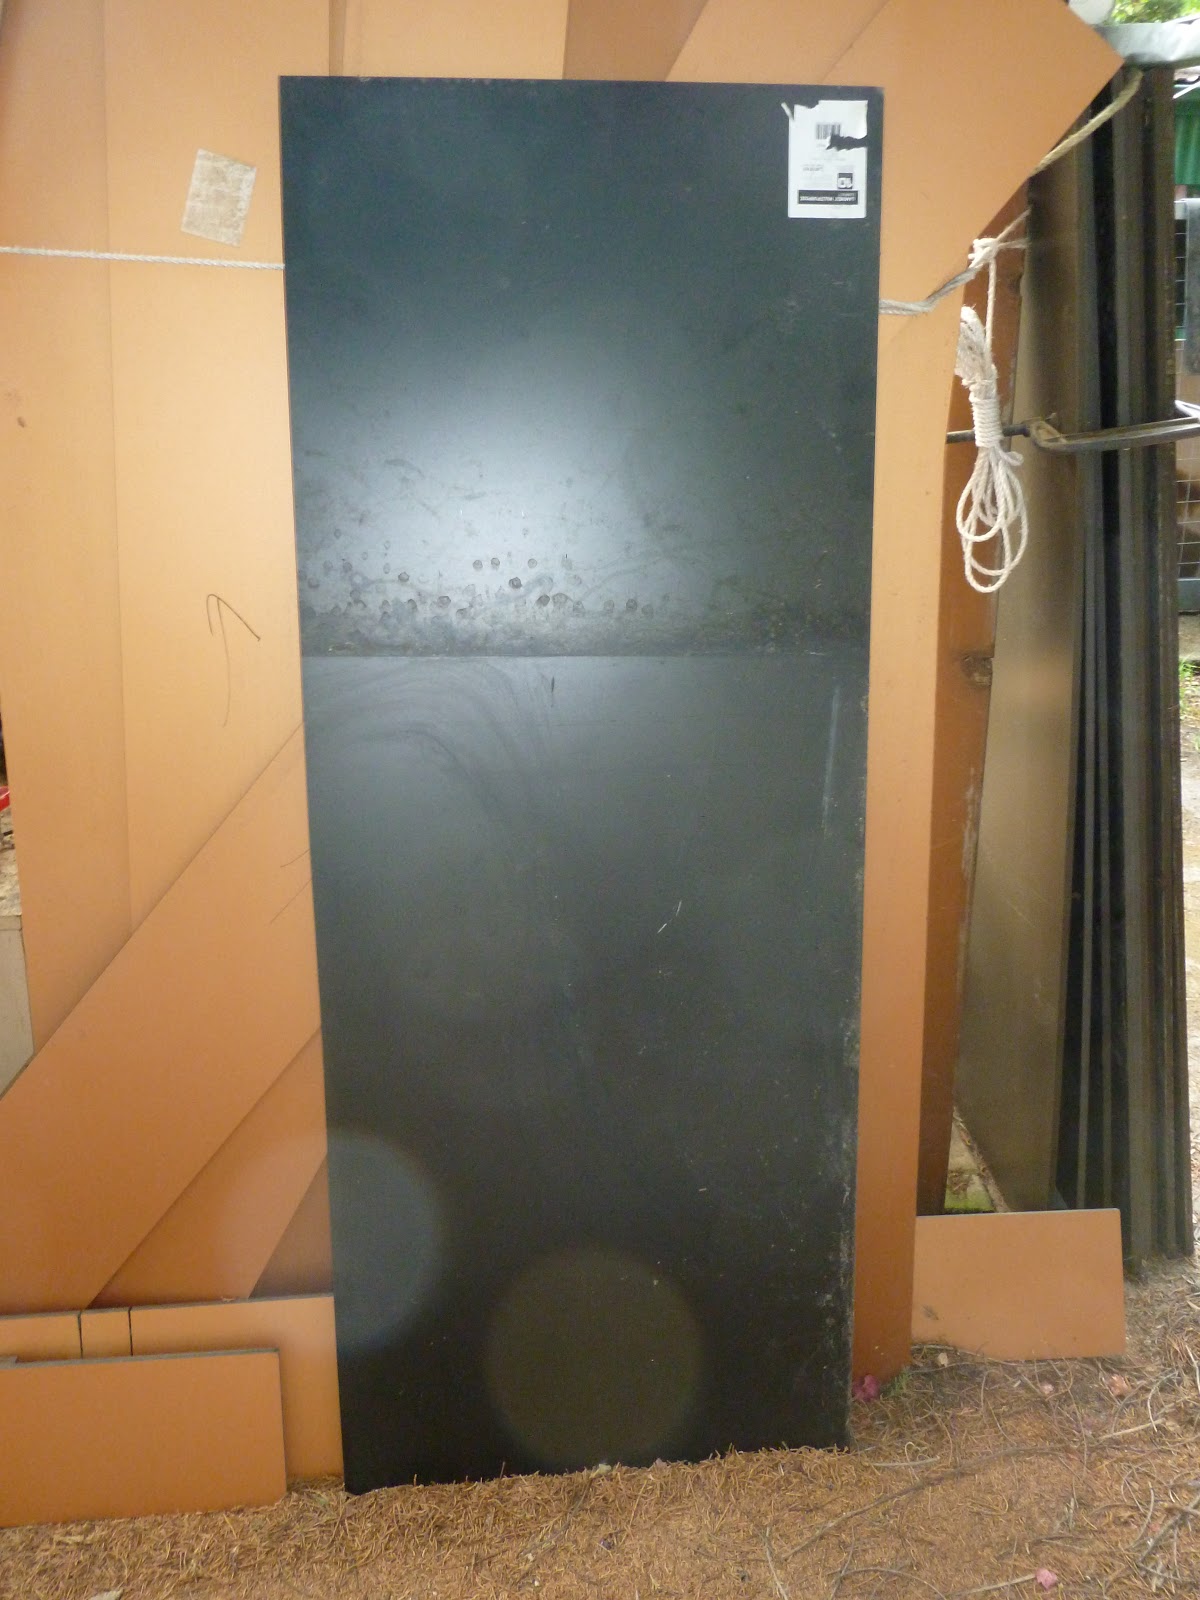
All these black pieces are what's going to make up the shelves. After getting a wash though I think. It doesn't look like much but it was a very hot sweaty afternoon to get to this point. However we are almost there. Just need to route the rebates on some of the shelves and then fit it together. Then look for more CNC updates because they will be inside and I won't have to fight the mosquitoes to stay out there.

If you have any tips on cabinetmaking or other furniture manufacture please let me know. I need all the help I can get on this one.

Cheers,
Rex