Showing posts with label Building. Show all posts

Tuesday, 3 January 2017

Now I have a table

Some of you may have seen on facebook that I have been building a workbench from mostly stuff that would otherwise get thrown away.
It started out as 3.6m long pallets that work needed to get rid of. So I took a couple to disassemble into more useful parts. I've used the planking from the top and bottom and made sure that I took out all of the nails. I then glued the faces of each of these together until I had a big enough block of timber. I then cut this in half so the bench would be a sensible size for my workspace.
The ends are not quite even because there were some chunks out of the ends of some planks. I put all of these at one end so I could cut off the worst of it all at once.

It looks a lot worse in this picture than in person. But I planed down the biggest misalignments and glue runs on what would become the top.
Then it was time to get ready for the glue up. To make sure that I didn't glue the bench to the sawhorses I put some pallet wrap around them.
Doing a dry fit to make sure there wouldn't be any gaps one everything was pulled up.
You can just see some light through here. This needed to get fixed.
To fix it I found the high spot and just took a little material off with the plane until it was pretty even on the straightedge.
Here we are, gluing in process. I put some pallet wrap around the joint as well to stop drips landing on the ground and on my straps.
Unfortunately I did have a little split open up during gluing. I think this was because I tightened the straps differently which meant that the one at this end would have been slightly slacker. I'm not worried about this as I can either chop out a section and inset a new piece, or more easily I can make an appropriate wedge and glue that in there.
Because I didn't plane down or level off the bottom side of the table at all I needed to cut rebates through the high points for the cross bars of the frame I am using. To mark them I used a chisel.
And this is the hammer I have been using with the chisel. Yes it is just a random hunk of wood. And yes there are characteristics it has that I would like to be different. But it works surprisingly well, is not heavy enough to be tiring and I don't need to worry about breaking or wearing it out as I can very easily find another just as good.
I cut down along the marked lines with a saw to about the depth of the lowest plank. Then I chopped out the middle with the chisel. It probably would have been easier if I'd made the trench a bit wider so  it was the same width as the chisel. That would have made it much easier to get a nice clean even trench. As it was, it wasn't too bad.
 And there you have it. There is still some work to be done in making it nice and flat and even. But at this point I need a workbench and this is now flat enough for me to start using it.

I even have it covered in stuff already.

Cheers,
Rex

Tuesday, 31 May 2016

I've discovered fire!!

That's right, with compressed air, waste oil and a blowtorch I have made fire at home.
Starting with this beast of a thing on the right:
And a bunch of fittings:
And some Pipe:
I managed to make an oil burner. I put an outlet in the bottom of the tank, blocked off one of the ports and put a T-piece on one of the other ports so I could let air into the tank.
I put the air in through a regulator I got from the hardware store. I'm not sure if it's because it was a cheap one, or it's designed to operate at higher pressure, or the setup was just wrong but I found that by clamping down on the plastic air hose going to the nozzle I could get the burner to run reliably. I had put a needle valve in the fuel flow so I had control of air and fuel. But I think the control of air was still too coarse. Before next weekend I will get another needle valve for the air and use that to control it, rather than a set of multi-grips:
While setting this up I did manage to tidy things up with a bit of cotton twine and parceled the fuel and air hoses together a bit to help control the tangle before reaching the mixer.
Hopefully this weekend I will get some more fittings and then will be able to get a video of this beast of a thing running. I used the blowtorch we saw here to light up the burner, but I had to keep it on hand as it was very prone to flameout which I think was because there was too much air coming through because the fuel is too viscous at the cooler winter temperatures.
Now that it is starting to cool down I have got some Metho for lighting up this burner. Unfortunately I haven't quite got the amount that I need right so starting it gets a little exciting. If anyone is interested I will do a video of me setting it on fire. Erm, lighting it...

Anyway that's all for tonight
Cheers,
Rex

Wednesday, 25 May 2016

I'm not trying to start a collection.

Honest...
It might be better if you stop here Mum.

So these followed me home from the Junktion on the weekend. 2 x 40L Air compressors with solid tanks. One of the compressor heads seems to be seized up but it doesn't have a fan on it so that could just be a lack of leverage. The other one can be spun by hand and makes the right sort of whooshing noises so I think it works.

Unfortunately neither of them have any regulators or power plugs on them so I will need to buy some, probably off eBay or AliExpress.

The plan for these is to turn one into an extra resevoir to increase the capacity of my compressor from 20L to 60L. And if I get an extra compressor head or 2 out of it, all the better.
The other one will be turned into a fuel tank for an oil burner I am planning on building for the forge. Similar to the one in this video:


I'm planning on getting that done in the next few weeks or so.

So keep an eye out for an improved forge in the coming months.

Cheers,
Rex

Saturday, 5 March 2016

Nathan's Computer Benchmarks

In may last post about Nathan's Computer I promised to share some quick benchmarks and thoughts about the build. So here they are, I'll start with the benchmarks. I just used Cinebench because that's a name I remembered and I wanted to see how fast the 8 threads would go through the picture on the CPU test. For monitoring temperatures I used Speedfan because I've used it a lot in the past.

 This was right after we got everything working before playing around with drivers or graphics cards. A respectable score for the CPU of 369. A reasonable improvement over my laptop.

Here we also tested the GPU, a GeForce GT730. This was the one that we ordered before finding the case with some stuff in it. The framerate of 30.39 is pretty close to 10x what my laptop scored.

And here we see the final configuration. The GTX550 that was in the case Nathan found. As we can see the score is nearly twice what the GT730 got so that was the card we left in this machine.

All the time these benchmark were running I was watching the CPU temp with Speedfan. I don't have any screenshots there, but none of the cores really went above the mid 60 degrees C.  These temps are much, much better than I have been used to with my laptop over the last few years and almost makes me want to build a personal desktop machine so I don't have to worry about the system killing itself when there is a constant high load. The cooler we used was a Deepcool Gammaxx 300 I was a bit nervous about having such a big heatsink hanging off the motherboard without any bolts going through. However if you don't push on the actual cooler itself then it seems to stay on fine. If there are problems however I'm sure we can find a solution at the hardware store.

If I were to do this again would I change anything? Probably not. However I probably would've looked longer for a motherboard. While the one we got was good and had everything we needed it is a custom HP part and doesn't have a standard power socket pinout or any labeled power switch pins. Eventually I did find solutions to each of these problems but it took a lot of searching. Because not many people are buying the motherboard out of a HP z400 to stick it in a completely different system without any of the HP stuff. So going down that route can cause headaches.

All in all I think it has been a good project and Nathan seems to be happy with this machine so far. If you would like to see some of the other projects I have on the go at the moment follow this link to my Projects page which I keep updated with the status of my other projects.

Speaking of other projects, now that this is finished I'll have to start on something else. Or perhaps finish building the shelves for the CNCs so I can do some more work on them.

Cheers,
Rex

Wednesday, 2 March 2016

Nathan's Computer: The conclusion

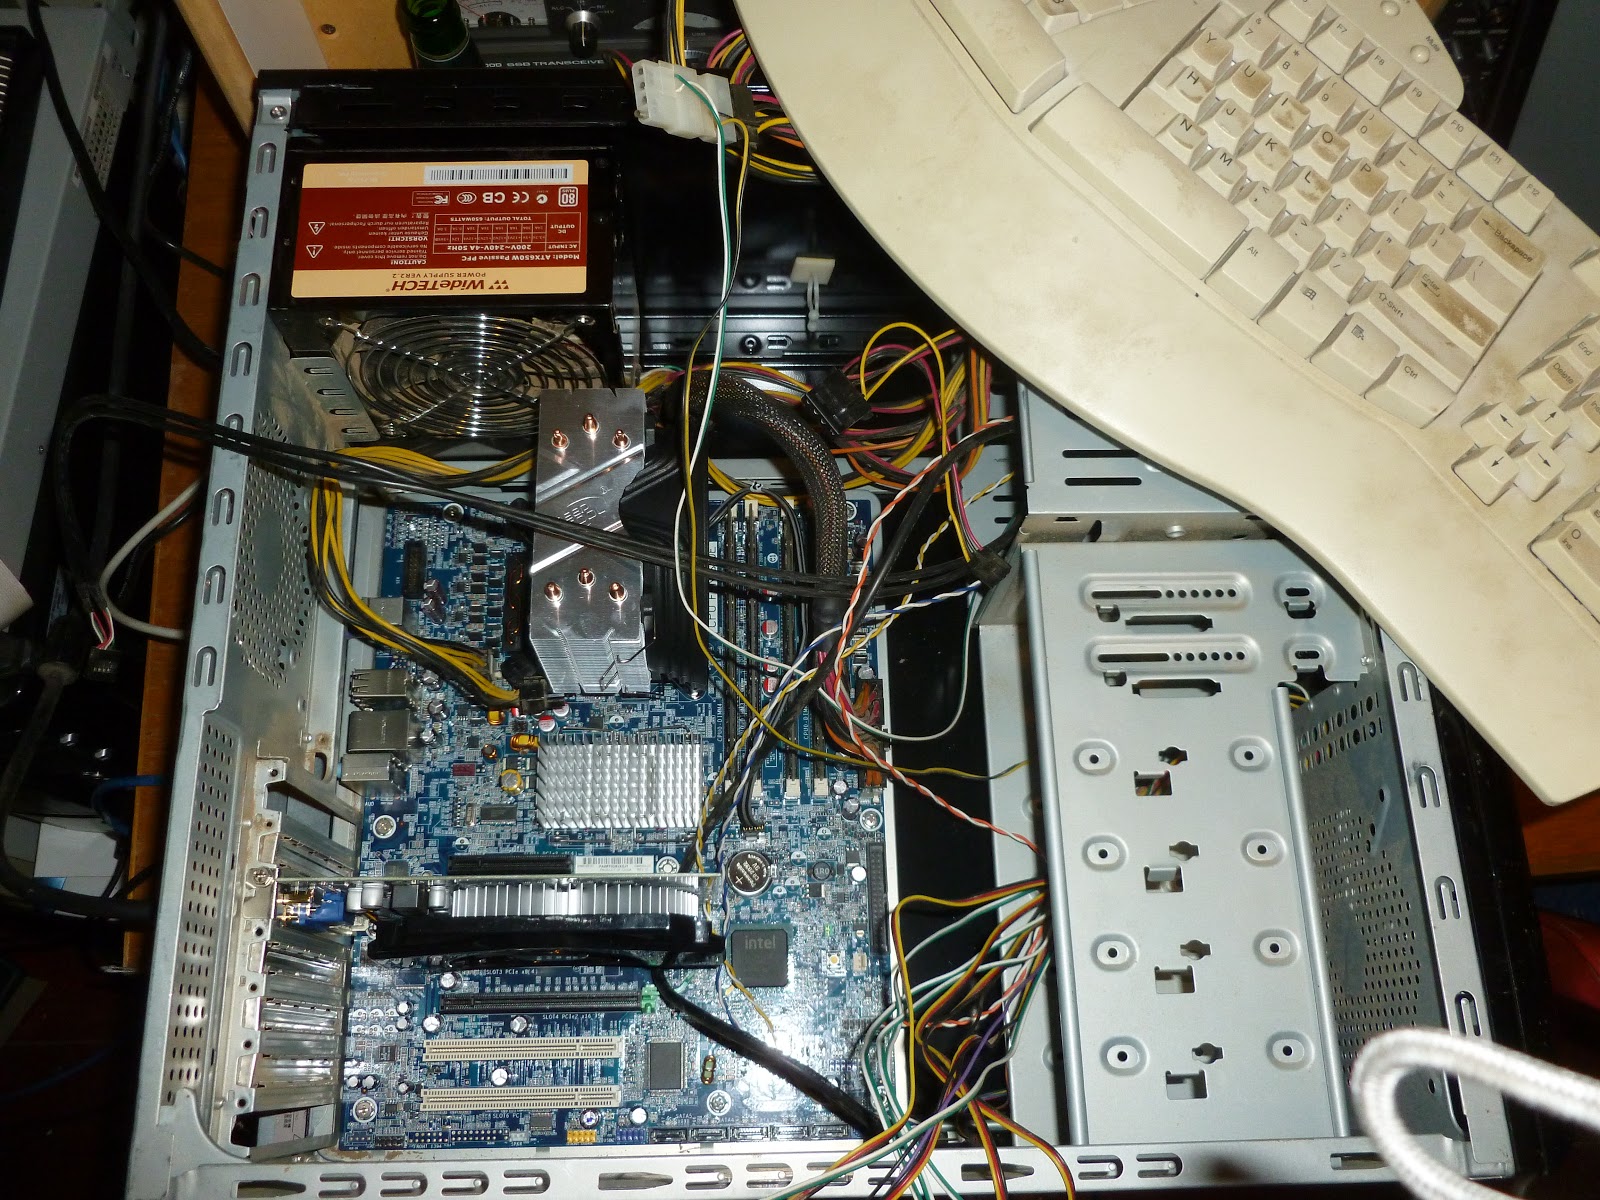
So the computer I have been building for my younger brother Nathan is now finished. He now has it at his home and is finalising the driver install and starting to set up the games that we actually built this machine for. We managed to save quite a bit of money by finding a case which actually had nearly everything we need inside it.

It was a little grotty but we needed a case and DVD drive. While we also didn't need anything else that was in the case we made good use of it because it brought the total system cost down for Nathan. In the end we had ordered RAM, a Power Supply Unit and a graphics card that we ended up using from this machine because the ones in here were better than what had been ordered.

Unfortunately it was very dirty and dusty. We tipped it up on end and all this fell out onto my nice, clean(ish) carpet. Luckily I had Nathan there to help me, so after removing everything from the case he cleaned it all with the vacuum cleaner and did a fairly good job of it I must say.

We were very, very excited when we found this. There was a total of 16GB of RAM in the case. Somewhat more than we had expected to be putting in there right away. So right off the bat Nathan got a RAM upgrade. Also a PSU upgrade as the one in the case was about 100W bigger and had other comparable specs. Also a massive graphics card upgrade. Comparing the GT730 we had bought and the GTX550 that we found there was just about an exact doubling of the Cinebench OpenGL test. From 30 FPS to 60 FPS. It was a huge improvement.

This is how we tested the system initially. If my experience building computer has taught me anything, is that test at every possible point. In this case we tested with the absolute minimum of parts in the machine. RAM, PSU, CPU, CPU Cooler and Graphics card.

Unfortunately I got a bit excited and forgot to take a picture of the first POST screen. Suffice to say that it POSTed and I was very happy and there was much rejoicing.

After that we put everything in and got windows installed. Another very happy moment.
You may have noticed a funny circle in the front of the case:

This is actually a fan controller/temperature monitor that runs from 12V pulled from a molex connector on the power supply and (we guessed) 5V from a funny shaped connector neither of us recognise, let alone have attached to the PSU. So I did what I'm good at and came up with a solution. I cut the funny plug off then soldered the wires onto the 5V going to the power light. I checked the current draw on this when we tested that it was actually 5V using my benchtop power supply and the current draw was not registering on the scale, so less than 0.5 mA which I was quite happy to pull from just about anywhere.
The astute amongst you will notice that the above picture is showing an adapter for 20pin ATX power supplies to drive 24pin ATX motherboards. I had this lying around from another project that I ended up doing the right thing and buying a new PSU for.

The tricky thing about buying parts off ebay is that they may not always work together. The motherboard is from a HP Z400 workstation which looked fine on paper. However initially it wouldn't POST. This is because HP decided to use +12V on some of the pins of the 24pin plug where the ATX standard that everyone else uses at +5V and +3.3V. Not very useful. So I had to splice in this adapter that I already had to a molex Y-splitter so we can get the extra +12V power.
This is what it looked like before installation.

And here we see it in situ.

So there you have it, the build is finished and tested. In the next few days I will do another post detailing the parts list, final cost and some benchmarks (also some thoughts on that parts I used) so keep an eye out for those if you are interested.

If you want more detail on how to build a computer let me know. I have another build coming up in the next few weeks that won't be as crazy as this one but will still give me an opportunity to show how it's done in great detail.

Cheers,
Rex

Thursday, 25 February 2016

Shelves for the CNC's

Even though I've been spending a fair bit of time recently playing with my computers and setting those up I am still working on my other projects. The biggest other thing I have been doing is preparing to make some shelves for the CNC mill and lathe to be put on so I can have them inside.

This is what it should look like. I sketched these up with the new CAD software at work over some lunch breaks to help familiarise myself with it.

I didn't get a picture of the stack of board before I started, but with a lot of help from +Ben O'Regan and +Nathan O'Regan we were able to rip down the sheets to a much more manageable size using a circular saw.
This was what we had after the first day. Unfortunately that had to be cut short as Nathan got caught by an offcut and we thought it prudent to stop there.
The evil piece that caught Nathan.
This is what is left of what we ripped down. We didn't fully optimize and allowed ourselves an extra length of 700mm wide just in case we made some mistakes cutting. Thankfully we didn't need this extra piece. However we do need a new saw blade. The one we had been using is pretty blunt now and wouldn't complain about being retired to use on soft pine.


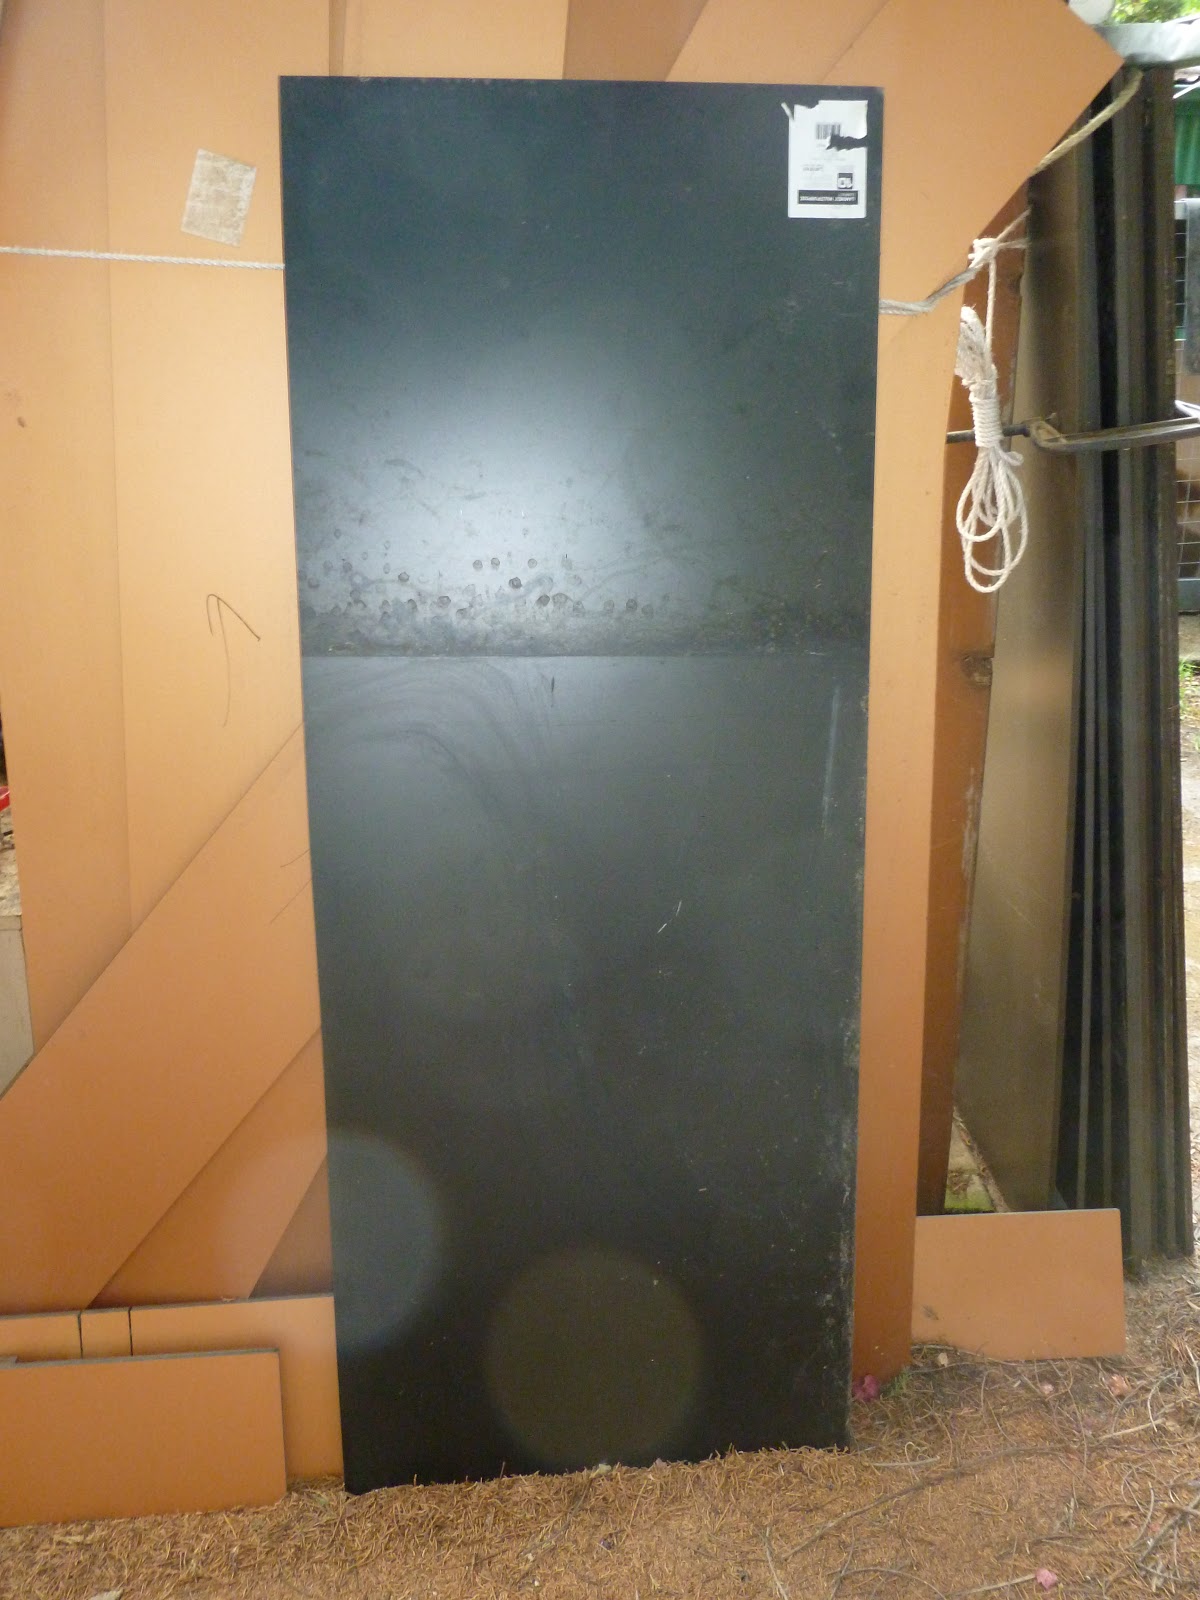
All these black pieces are what's going to make up the shelves. After getting a wash though I think. It doesn't look like much but it was a very hot sweaty afternoon to get to this point. However we are almost there. Just need to route the rebates on some of the shelves and then fit it together. Then look for more CNC updates because they will be inside and I won't have to fight the mosquitoes to stay out there.

If you have any tips on cabinetmaking or other furniture manufacture please let me know. I need all the help I can get on this one.

Cheers,
Rex