Showing posts with label Lathe. Show all posts

Tuesday, 26 July 2016

It can be better to pay first

Paying for a good tool or a part can be a bit offputting as the initial expense seems to be much higher. However cheaping out and getting something that might not work properly will most likely be more expensive in the long run.
I have had that idea highlighted for me while I was setting up a KVM switch so that I can run both the beaglebone (Mill) and the 386 (Lathe) through the same monitor.
These are the parts I tried to use. I got the keypad, kvm and an extra VGA cable from The Junktion for $5. All of them seem to work and are in good condition and would probably work in a more normal situation.

This is the KVM switch. It's better than the last ones I had because it gets all of it's power from the computers. However it's a bit different in that it needs a set of keys to be pressed on the keyboard to change the controlling computer. I don't use scroll lock much, particularly on these computers so that won't be a problem.

The stack of adapters. The fan I had wasn't working so this was going to be fine for a test. I do have an HDMI to VGA adapter somewhere that will let me have a fan and get video out; but I can't find it at the moment so I'll make do.

And here we have the rat's nest. I don't do a lot of cable management because I am changing things so often that having a strict management system would get more in the way then a mess like this. Regarding noise and crosstalk between the cables, anything back here with a signal is shielded and the only thing with significant power other than the mains cables is the drive to the stepper motors which is reasonably heavily shielded. So I don't think noise will be a problem and I certainly haven't had any issues yet.

With everything plugged in I powered it all on and... It... didn't work. It would display the screen from the 386 but I could not change it to display from the beaglebone. I think what has happenend is the KVM switch is expecting to be plugged into PS/2 ports (That's why it has them I guess) but I am plugging it through an adapter into an old style keyboard connector and that's it. No mice or keyboard from the Beaglebone.

I think this is causing it to run out of power and just not work properly.

To fix this I am doing what I should have done in the first place and buying a cheapy from ebay that is completely passive. From the picture of it's guts I saw it is very basic which will be perfect for this as then there is less chance it will not work.

So sometimes it pays to just buy the right thing in the first place. But for a hobby, while it can be frustrating and demoralizing it usually isn't too bad. In a business situation however it can cause major problems.

Cheers,
Rex

Thursday, 7 July 2016

A Little more practice needed

So tonight I decided to have a little play with the Lathe. I probably should've gone to bed early for work tomorrow. but it was calling me.
You may remember that I am setting up a fixture on my mill to experiment with parts drawn in Fusion 360 then exported through to it. Unfortunately as you can see in the above picture the hold down bolts I have are a little too long. To fix this I could cut them down with the hacksaw. But I thought it would be a lot cooler and good experience to use the lathe.
So I set everything up as near as I could figure to correct.
I put a little oil on the part. I was planning to add a drop halfway through, but the spindle doesn't run with the face shield up so I had to put a drop on then just let it go. Probably not too big of a concern with this part at it's fairly small and although it will produce some heat it shouldn't get too bad.
The result of the first pass. The spindle started to load up a little then the tool seemed to jump over the little nipple that was left without actually cutting through it. So perhaps the tool is too high? Simple solution, lower it then.
Hmmm. Possibly too low. This picture looks much worse than it did in real life.
Here we go. I did add another drop of oil, but it had pretty much been thrown off by the time the tool came in, I probably won't worry in the future.
It worked. Kinda. It's a bit difficult to see in the pictures. But the surface finish on the part in the chuck isn't great and while it did cut through it wasn't particularly happy about it.

I thought it must be too low now so I moved everything around again and had another crack at this. Just for practice now.
Unfortunately this attempt was an unmitigated disaster. The tool got caught in the threads and was deflected off to the side. Then it started to cut. Thankfully I stopped the machine before anything snapped.
The Solution? Turned out not but it was a fun thing to try. I set up another tool opposite the parting tool. This is more or less how the machine was when I received it. I wish now that I'd played around more as it was. But hindsight is 20/20 and I knew even less then than I do now. However I was able to turn this to a fairly good surface finish quite easily.
The feed was set at about 10mm/min, the depth of cut was about what looked pretty good and the spindle was set at 1/4 of the way between 200 and 2000 on the dial for it. Not sure how accurate that is though.

So now that we have a nice flat surface that isn't going to deflect the tool lets try again.
This was the result. The tool just rubbed and pushed the workpiece around. It actually crushed some of the threads in the chuck so the steppers at least have a bit of go to them even if the spindle is a bit weak.

At this point I decided to call it a night and had a quick look at the turning insert I was using.
Thankfully no visible damage as I expected. However it is always good to double check.

I will probably go back to playing with the wax and delrin(?) blanks I have for a little while, at least until I get a better feel for how each of the tools work and getting them set properly. The good news there is that means I will probably get to the mill sooner again. I will rig up a fan that actually works to send some air over the stepper drivers as they do get quite hot although I think they are still just within spec for passive cooling. Then once that's done, I have worked out a method for driving the spindle so it will be full speed ahead for making some chips over there too.

Cheers,
Rex

Thursday, 30 June 2016

How to hold this?

After going through building the stock for this part I'm going to make with the mill the other day I tried to work out how I am going to hold it in the mill.

As you can see there is a groove all the way around which I had planned to use to hold on to with some clamps and T nuts.

These ones in fact. However what I discovered is that all of the shorter screws that I have are a much coarser thread than what the nuts have so I'd need to pack underneath the longer ones quite substantially. Not impossible but I'd rather avoid that if I can.

So I figured I'd use the little vice that came with the mill. Some comprimises there also, but better than having to space it out by a mile. However do you think I could find it? Option C it is then.

Here we have some longer bolts that we faced the head down a little so that they will fit in the T slots. It isn't ideal as they have a hex head rather than a square head but they do lock in the slots nicely enough. The only problem is that the cutter is sitting on the block and the spindle is pretty close to the ideal height now so it would probably crash into the hold down bolts. Less then ideal.
But there is a solution. I have chucked the first bolt up in the lathe and I will part it off as short as possible which will give me plenty of length to hold this down.
Here we are, all set up and ready to go. I probably won't do this before the weekend as I don't want to be making too much noise at night and upsetting the neighbors. That can come later.

So keep an eye out and I will try to get some video of the parting off so anyone that knows a bit more than me can point out where I am going wrong.

Cheers,
Rex

Tuesday, 19 April 2016

The Lathe still works

So I have finally got everything in place to use my CNC Lathe. To test it I ran it in manual mode. I stuck with the default settings of 80 mm/min, 0.25mm X incremental feed & 0.1mm Z incremental feed. I had a play with the spindle speed just to see what would give the best finish. There didn't seem to be much difference but I was just using a pretty soft piece of some kind of plastic.

This was all I did, the spindle is quite loud so I didn't want to be running this too late. I'm not quite sure what kind of plastic this was but I did get a fair few pieces of what seems to be Delrin that I will be experimenting with once I work out how to hold them as the chuck doesn't open far enough to hold them.

This machine is fairly old and is controlled from a 486 running windows 95. Not the world's oldest machine. But fairly old. The interface is all DOS based so to improve startup time I have disabled the windows GUI entirely and just boot into DOS. The interface, while definitely classic it isn't too hard to use or hard on the eyes, which can be a problem with some of these older user interfaces.

I shot a video of me machining this piece with my phone sitting on top of the safety shield. During the video you can hear the different pitches as I adjust the speed of the motor to see if that would change the finish. Watching the video and also while using the machine there is a lot of backlash evident in the Z axis so I will try to work out what is causing that and hopefully remedy it.

With this now working I should be able to power the spindle for the mill from the accessory port on the control box for the lathe. This will give me a chance to fully test and even start using it to make parts.

I have the manuals for this lathe so I will probably put together a program that will allow me to turn down the Delrin blanks so I can mount the securely in the better chuck. But we'll see about that.

Cheers,
Rex

Friday, 8 April 2016

Don't let fear stop you

Sometimes we come across projects or sub projects that we don't want to take on because we are worried what others might think, if it's safe, if others will think it's safe, if it's too expensive. The problem is that when we let these fears and concerns govern what we allow ourselves to do then we end up not accomplishing anything near what we are capable of.

This is something that I have struggled with on various projects over the years, is it safe? What will others think of me doing it? Whatever the case may be. On the instances when I have put these fears into their place by stopping and working out just what the impact will be, then after putting into place safety controls I have always found these projects to be worthwhile. This one today is one of them. Here was my problem:
The controller for the CNC Lathe runs on 110V not the 240V that comes from the walls here. When I got the machines I had a few cords that would connect them to a transformer box  so they could be used with a 240V wall supply. Unfortunately I have lost said cables and to be able to run the Lathe I need to get 110V to it. Bugger.

This is where fear came into it. From the time I have started playing with electronics there has always been an unspoken rule that you just don't have anything to do with line voltage as a hobbyist. This is a very safe rule. However in this situation it would've stopped me from being able to run the lathe again unless I found the power cord (Unlikely). So after taking stock of the risks (electrocution) and working out controls (unplug and leave for a while to let any charge dissipate, test to make sure nothing is shorted to the case before re-connecting) I realized that this could be fixed safely.

And here's the finished product. I can now use a normal power cord like I would use for a computer to power the lathe with 110V.

That's where the scaryness happens. The transformer is potted in epoxy so that's all quite solid.

Looks like I'm not the only one who chain drills and doesn't fully clean up the edges. I had to take off some of the peaks before the new socket would go on.

Testing all of the connections. I'm using an old analog multimeter on ohm reading to check for shorts. It does still work, certainly well enough to show a short circuit.

That's all for today, the next post will be my 100th post on this blog so I am working on something cool for that so stay tuned.

And remember, don't let your fears tell you that something can't be done. There's always a safe way.

Cheers,
Rex

Monday, 28 March 2016

Getting closer

So I finally have a space inside for me to work on the CNCs. This is a drastic improvement over where they were. outside. Where I would freeze in winter, cook in summer and be attached by mozzies at any time of the year.

I had planned to build a set of bespoke shelves that would allow me to put the servers above the machines rather than below them as you see here. However that didn't quite work out so in order to be able to actually get these inside before it gets cold I got a pair of shelves from Super Cheap Auto in town
I have not complaints about these shelves. They are fairly solid; and while I needed to give them a few taps with the hammer to get them to clip together fully that does mean that they won't be falling apart any time soon.
Each of the pieces are fairly flimsy, but once everything is together it becomes fairly rigid and I have no problems putting as much as will fit onto these shelves as inevitably will happen.

The next thing I am looking for is an old monitor that I can connect to the computer for the Lathe so I can control it and ideally a rack mount cabinet that I can fit both of the servers in along with the switch so that the cables are a bit neater and I can put them away from any possible shavings that might be leaking out of the machines.

I have a few things coming up. We got some good photos at the Lakemac Heritage festival so I will be sharing those. These CNCs will be running again very soon and I have a few things I would like to make with them that might actually happen now. And I have a Hard drive that I have been asked to destroy for data security so I will go through the details of construction with that.

Cheers,
Rex
Thursday, 25 February 2016

Shelves for the CNC's

Even though I've been spending a fair bit of time recently playing with my computers and setting those up I am still working on my other projects. The biggest other thing I have been doing is preparing to make some shelves for the CNC mill and lathe to be put on so I can have them inside.

This is what it should look like. I sketched these up with the new CAD software at work over some lunch breaks to help familiarise myself with it.

I didn't get a picture of the stack of board before I started, but with a lot of help from +Ben O'Regan and +Nathan O'Regan we were able to rip down the sheets to a much more manageable size using a circular saw.
This was what we had after the first day. Unfortunately that had to be cut short as Nathan got caught by an offcut and we thought it prudent to stop there.
The evil piece that caught Nathan.
This is what is left of what we ripped down. We didn't fully optimize and allowed ourselves an extra length of 700mm wide just in case we made some mistakes cutting. Thankfully we didn't need this extra piece. However we do need a new saw blade. The one we had been using is pretty blunt now and wouldn't complain about being retired to use on soft pine.


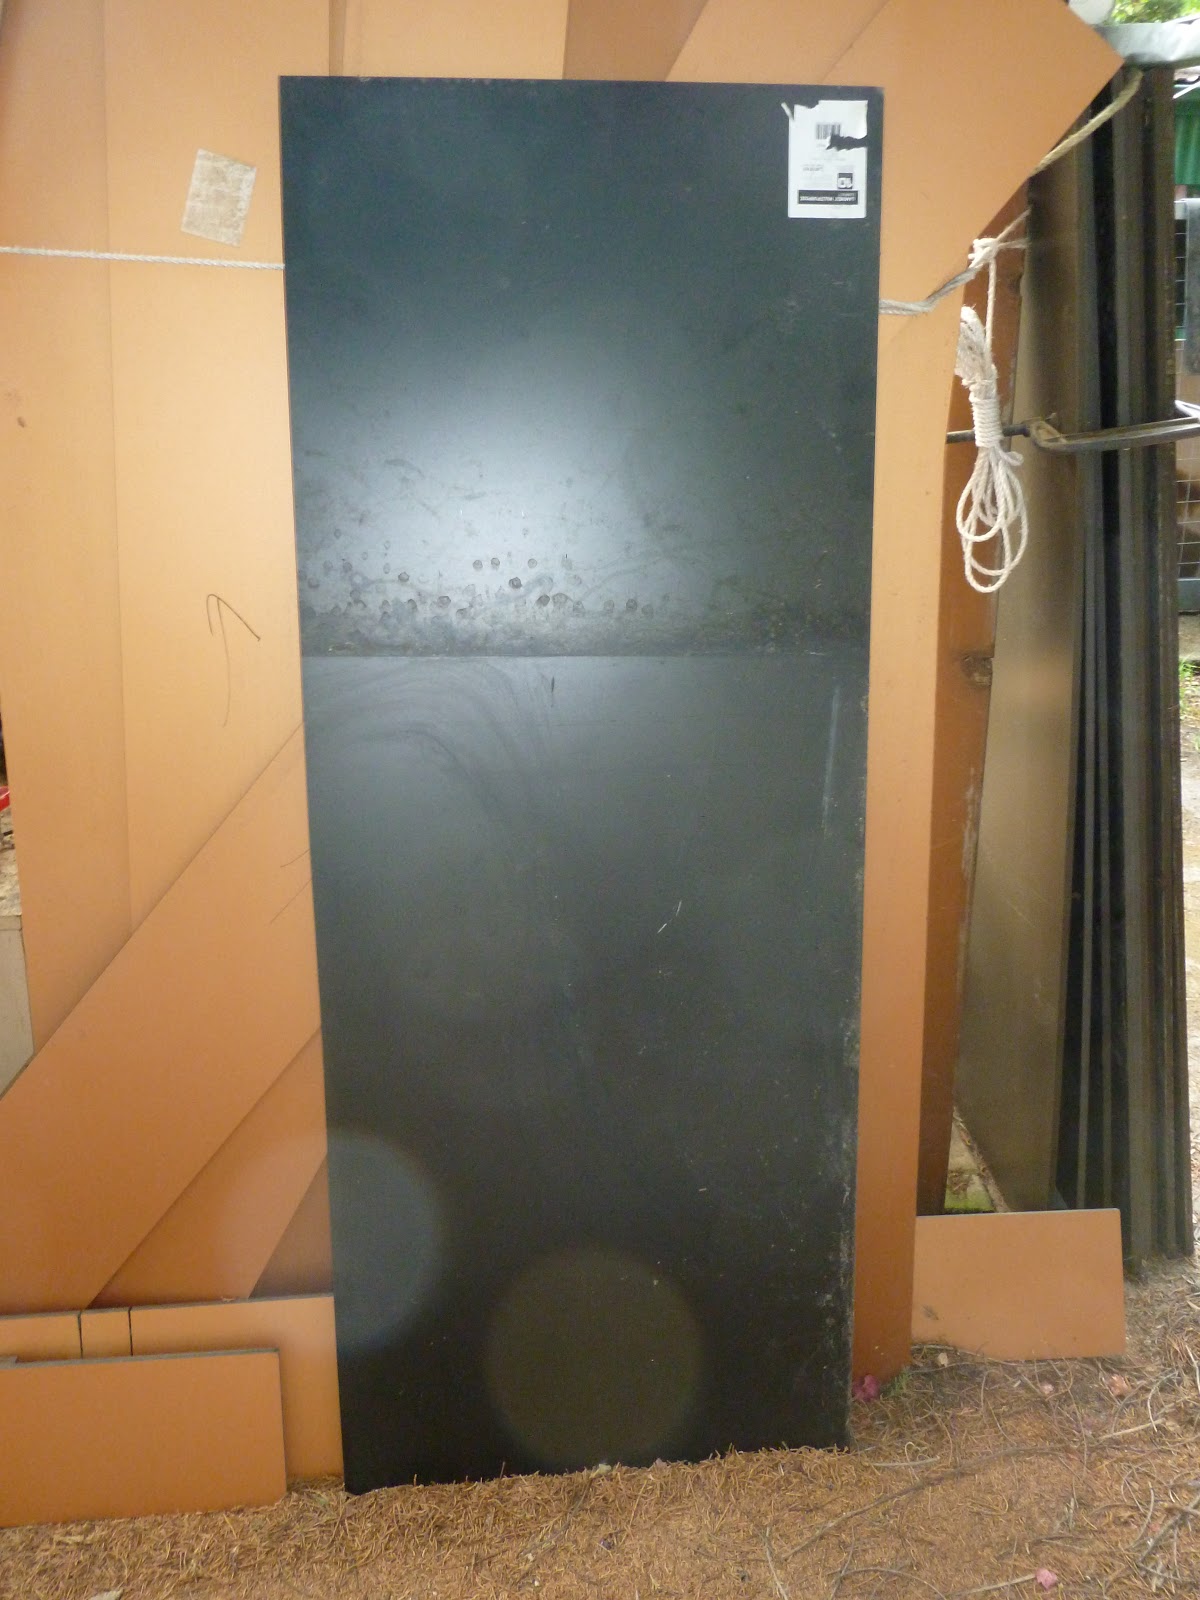
All these black pieces are what's going to make up the shelves. After getting a wash though I think. It doesn't look like much but it was a very hot sweaty afternoon to get to this point. However we are almost there. Just need to route the rebates on some of the shelves and then fit it together. Then look for more CNC updates because they will be inside and I won't have to fight the mosquitoes to stay out there.

If you have any tips on cabinetmaking or other furniture manufacture please let me know. I need all the help I can get on this one.

Cheers,
Rex