Showing posts with label Cheap. Show all posts

Tuesday, 26 July 2016

It can be better to pay first

Paying for a good tool or a part can be a bit offputting as the initial expense seems to be much higher. However cheaping out and getting something that might not work properly will most likely be more expensive in the long run.
I have had that idea highlighted for me while I was setting up a KVM switch so that I can run both the beaglebone (Mill) and the 386 (Lathe) through the same monitor.
These are the parts I tried to use. I got the keypad, kvm and an extra VGA cable from The Junktion for $5. All of them seem to work and are in good condition and would probably work in a more normal situation.

This is the KVM switch. It's better than the last ones I had because it gets all of it's power from the computers. However it's a bit different in that it needs a set of keys to be pressed on the keyboard to change the controlling computer. I don't use scroll lock much, particularly on these computers so that won't be a problem.

The stack of adapters. The fan I had wasn't working so this was going to be fine for a test. I do have an HDMI to VGA adapter somewhere that will let me have a fan and get video out; but I can't find it at the moment so I'll make do.

And here we have the rat's nest. I don't do a lot of cable management because I am changing things so often that having a strict management system would get more in the way then a mess like this. Regarding noise and crosstalk between the cables, anything back here with a signal is shielded and the only thing with significant power other than the mains cables is the drive to the stepper motors which is reasonably heavily shielded. So I don't think noise will be a problem and I certainly haven't had any issues yet.

With everything plugged in I powered it all on and... It... didn't work. It would display the screen from the 386 but I could not change it to display from the beaglebone. I think what has happenend is the KVM switch is expecting to be plugged into PS/2 ports (That's why it has them I guess) but I am plugging it through an adapter into an old style keyboard connector and that's it. No mice or keyboard from the Beaglebone.

I think this is causing it to run out of power and just not work properly.

To fix this I am doing what I should have done in the first place and buying a cheapy from ebay that is completely passive. From the picture of it's guts I saw it is very basic which will be perfect for this as then there is less chance it will not work.

So sometimes it pays to just buy the right thing in the first place. But for a hobby, while it can be frustrating and demoralizing it usually isn't too bad. In a business situation however it can cause major problems.

Cheers,
Rex

Tuesday, 12 July 2016

Sometimes it doesn't work out

Over the weekend I tried to save some money. The car we recently bought for my lovely girlfriend needed new tires. We knew that when we bought it though so no shocks there. What I did realize though is that I have a car with tires that still have a little tread on them on a car in a paddock that doesn't need tires that are legal on the road so I thought I'd try and put those wheels on the Mazda.
This is one of the stock wheels on the Mazda, They are a 165/70R13. So they are 165mm wide at the tread and have sidewalls that are 70% of that width. The tires on the Pulsar are a 195/50R15 so 195mm wide with a sidewall 50% of that width. That means that they are lower profile and are less likely to roll over themselves during a corner; but we aren't going to be doing that sort of cornering in this car.

Being that they are a bit wider I wasn't sure if they would fit. But in the name of not wasting a set of tires with a decent bit of tread left on them I decided to give it a go anyway.

Here they are in situ. Let's do this the easy way.
A rattle gun. With proper impact bits even. I learned my lesson after wrecking a 1/2" drive to 1/4" drive adapter with this thing. Get the proper impact bits. And so far I haven't wanted to use this driver on a bolt other than the sizes in this set so for most cases a basic set like this is plenty ample.

I did however make the mistake of undoing all of the wheels in one go. Then trying to take them off one at a time. If I was doing this on a hoist that wouldn't be a problem. But if the car is sitting on it's wheels then as you jack it it will move a surprising amount and you want all of the other wheels to be secure as it's shifting to stop it falling over.

This was the only jack I had with me. It's just the one that came with my Rodeo ute and was doing fine. Until it wasn't. All of a sudden it just wouldn't move either way. I'm not sure what happened but it worked fine the next day so it might've just gotten cold, or just needed a bit of rattling around in the toolbox on the back of the ute.
Luckily there have been a couple of paddock bashers through this paddock and we have usually taken the jacks out. Either because we needed to use them, or we wanted one less loose thing in the car with us. I managed to find this one down near where some of these cars have been kept in the past. It even had a driver on it so I could put a socket on there and jack up the car with the rattle gun. Very easy way of doing it.

So this is why they say to do this on level ground? That black dot is the last tire. It didn't fall over when I dropped it after taking it off. Then I couldn't kick it over to stop it so I just let it go. It finished not far from this picture so I just picked it up on my way out.

Here we are. That's a pretty tight fit. Overall these wheels have a slightly larger diameter. But within what is allowed by law so it's only a case of will they hit anything?
Moment of truth here...
And a no go. Unfortunately we don't just drive in a straight line so these wheels didn't fit.

We had a new set put on today for about $400. Not going to take food off the table, but it would've been nice to be able to put that off for a few weeks even.

But that's something to remember. As much as I do eventually get just about everything working how I want it. Sometimes it just isn't going to happen and the time and effort you have invested could probably have been better served elsewhere. But this was only a bit of fun and the results either way was very much more about if I could do it, rather than it being critical.

Cheers,
Rex

Wednesday, 6 July 2016

I can make stuff hot again

So in my experiments with waste oil burning I have reached a new milestone. On Friday night I managed to make something hot using waste oil and compressed air alone.

I can also still break hammers. I think I trimmed too much off when I fitted the head on last time so it has just slid over the taper the wedges put in the wood. I have a few plans on how to fix this so it doesn't happen again. I'll be bringing you along for my experimentation there as well.

It took me a little while to get the fire going this good. To start with what I was trying was dripping the oil into a stream of air from my shop-vac on blow, atomizing(?) it then carrying it through into a fire that I'd already lit to get some heat into the fireplace. Unfortunately that didn't work.
I had some charcoal in the bottom of the fire to help get a decent bed of hot ashes to be spraying the oil onto. Unfortunately with any kind of draft, even from the hairdryer. The charcoal turned into embers which were getting picked up by the wind a little and heading towards the neighbors yards. Not so good.

The next thing I tried was to just jamb the nozzle from my previous test(here) through a gap in the bricks and backfill with dirt. Unfortunately I forgot to take a photo of that as well.

This was the result:
A nice big ball of flame, with relatively few sparks as there is much less air moving. I put a spring in the fire as this is something I have been toying with a bit recently and it did get hot.
It did take a fir while so there is plenty of room to improve but a good proof of concept. It will burn when feeding into a smallish, pre-heated chamber.


Here I was deliberately running rich to get the big fat flame to come out of the fireplace and shed some light on the surrounding area so I could see what I'm doing.

It's impressive the amount of control I have over this, for a pretty crude piece of engineering.

After I turned off the burner this is what it looked like inside the fireplace. I put some bricks on top as it was spitting a little and I was hoping to stop the bricks surrounding the fireplace from cooling too quick and cracking. The glow is what's left of the fire I was using to get everything started, scraps of wood and charcoal mainly.
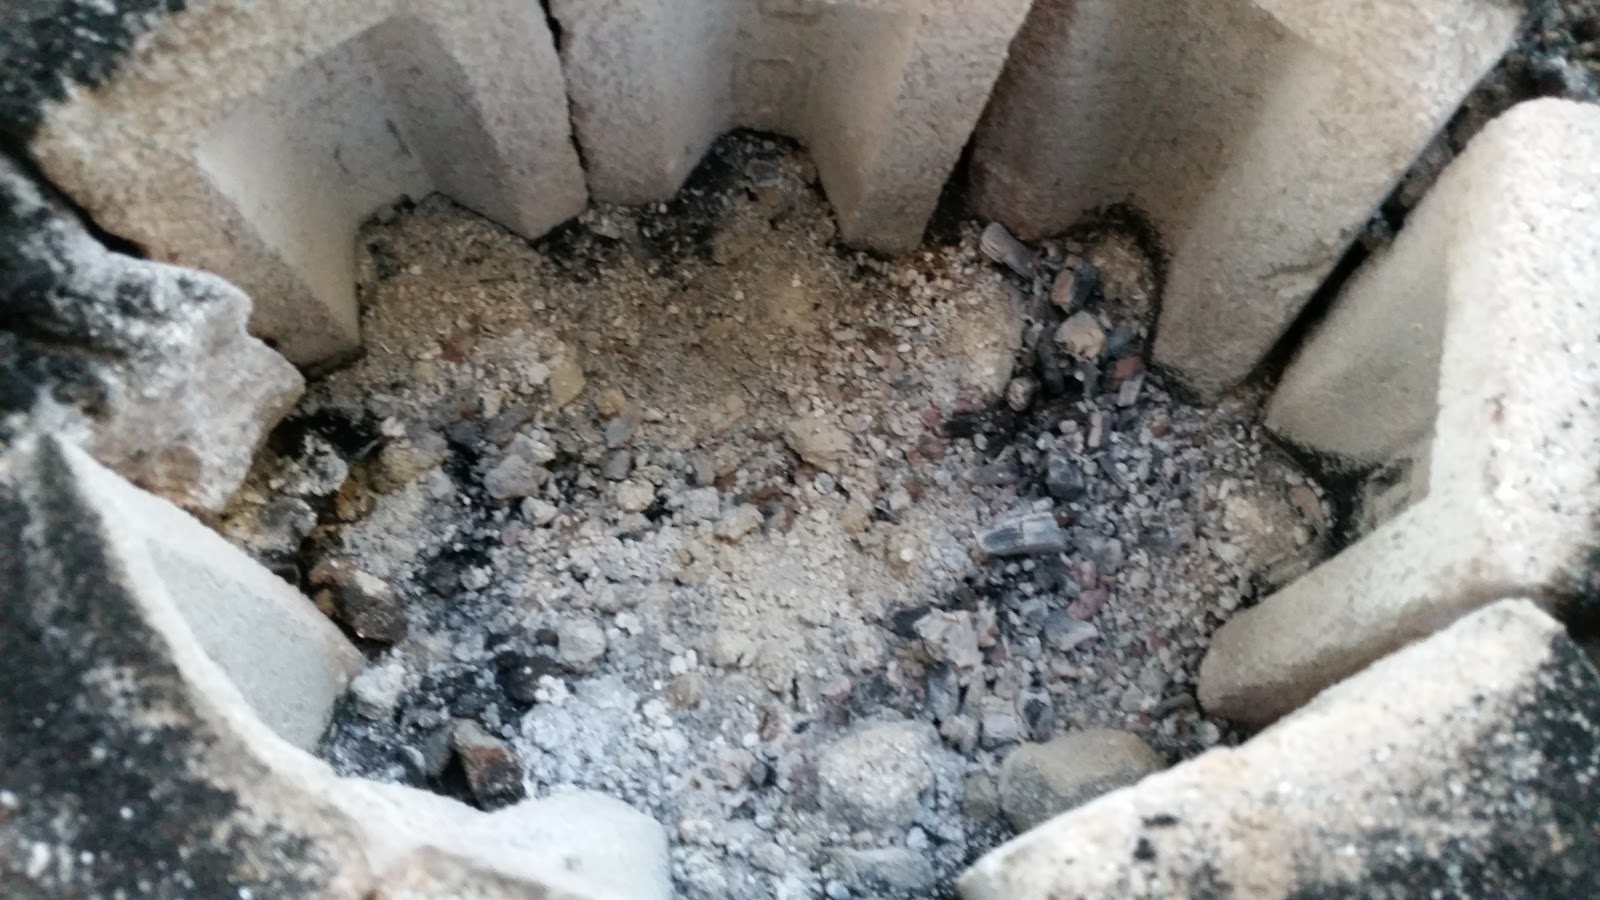
This is what was left a few days later. The burner is over on the left and can't quite be seen.

I took a little video of this and I will share that as soon as I have it edited together. I am going to play with this fireplace as it is for a while and see if I can get a bit more heat out of it, then I have a small gas bottle that will probably become my new forge. I will probably be lining that with some kind of fireproof material to help stop the steel from burning out.

Cheers,
Rex

Tuesday, 21 June 2016

Yes... I did buy another car

Some of you may have seen on facebook the other day I had a picture of me with a car on a trailer.


The reason for this is I have a friend with some paddocks, and we felt they needed a little bashing. So between us we have obtained a couple of cars that fit into the category of Paddock Bashers. This one is mine. It's an old Nissan Pulsar SSS. It's got a pretty big ding in the front but probably could have been put back on the road. But that would have been more than the car is worth to do that.

Here we are ready to have a go. We stripped the interior and replaced the key with some switches. Why? Because we can. And the plan is to race each other to see who has the best, worst car of all of us. I can justify the whole key thing, the key does fall out of the barrel. But really it's just because I want to.

Time for this seat to come out. Really thankful for the rattle gun for my birthday. Makes this sort of work much easier.
What have we here, hiding under the seat? A big old CD stacker. Amazing what you can find in a second hand car. If I can make it work on the bench at home I might do something with it, otherwise it's old technology that has well and truly been replaced by my now old. But still very useable iPod.

And it's gone. I didn't get any more photos as we were having a bit too much fun. But once the weather clears up a bit and I head up there when there's some sunlight I will get some pictures to show what we have done to the interior. A Vast improvement I think. In weight anyway.

Cheers,
Rex

Sunday, 8 May 2016

How to clean a can out

Those who know me will agree that I'm lazy, very lazy. If there is an easy way to do something I will do my best to find it. So when I had in mind a project that needed a smallish metal container I went looking for the easiest thing I could find.

A tin can will serve nicely for what I have coming up and many other projects in the future. But how to clean it without taking too much effort? Here's what I came up with:
If you look closely you can see I put it in a little fire I lit to burn off some of the tree trimmings from our yard. I got impatient so I pulled out the can rather than just letting the fire burn out. This is what  I had left:
It is a little blackened and charred, but a light coating of carbon may actually help with what I have in mind. But if I needed to I could probably clean up the can with a wire brush or some sand paper. But I don't need it clean and I am lazy so it will stay dirty.

So there you have it. If you need a tin can for a project and don't want to spend too much time cleaning it all you need is a fire and the work will be basically done for you.

Cheers,
Rex

Saturday, 5 March 2016

Nathan's Computer Benchmarks

In may last post about Nathan's Computer I promised to share some quick benchmarks and thoughts about the build. So here they are, I'll start with the benchmarks. I just used Cinebench because that's a name I remembered and I wanted to see how fast the 8 threads would go through the picture on the CPU test. For monitoring temperatures I used Speedfan because I've used it a lot in the past.

 This was right after we got everything working before playing around with drivers or graphics cards. A respectable score for the CPU of 369. A reasonable improvement over my laptop.

Here we also tested the GPU, a GeForce GT730. This was the one that we ordered before finding the case with some stuff in it. The framerate of 30.39 is pretty close to 10x what my laptop scored.

And here we see the final configuration. The GTX550 that was in the case Nathan found. As we can see the score is nearly twice what the GT730 got so that was the card we left in this machine.

All the time these benchmark were running I was watching the CPU temp with Speedfan. I don't have any screenshots there, but none of the cores really went above the mid 60 degrees C.  These temps are much, much better than I have been used to with my laptop over the last few years and almost makes me want to build a personal desktop machine so I don't have to worry about the system killing itself when there is a constant high load. The cooler we used was a Deepcool Gammaxx 300 I was a bit nervous about having such a big heatsink hanging off the motherboard without any bolts going through. However if you don't push on the actual cooler itself then it seems to stay on fine. If there are problems however I'm sure we can find a solution at the hardware store.

If I were to do this again would I change anything? Probably not. However I probably would've looked longer for a motherboard. While the one we got was good and had everything we needed it is a custom HP part and doesn't have a standard power socket pinout or any labeled power switch pins. Eventually I did find solutions to each of these problems but it took a lot of searching. Because not many people are buying the motherboard out of a HP z400 to stick it in a completely different system without any of the HP stuff. So going down that route can cause headaches.

All in all I think it has been a good project and Nathan seems to be happy with this machine so far. If you would like to see some of the other projects I have on the go at the moment follow this link to my Projects page which I keep updated with the status of my other projects.

Speaking of other projects, now that this is finished I'll have to start on something else. Or perhaps finish building the shelves for the CNCs so I can do some more work on them.

Cheers,
Rex

Wednesday, 2 March 2016

Nathan's Computer: The conclusion

So the computer I have been building for my younger brother Nathan is now finished. He now has it at his home and is finalising the driver install and starting to set up the games that we actually built this machine for. We managed to save quite a bit of money by finding a case which actually had nearly everything we need inside it.

It was a little grotty but we needed a case and DVD drive. While we also didn't need anything else that was in the case we made good use of it because it brought the total system cost down for Nathan. In the end we had ordered RAM, a Power Supply Unit and a graphics card that we ended up using from this machine because the ones in here were better than what had been ordered.

Unfortunately it was very dirty and dusty. We tipped it up on end and all this fell out onto my nice, clean(ish) carpet. Luckily I had Nathan there to help me, so after removing everything from the case he cleaned it all with the vacuum cleaner and did a fairly good job of it I must say.

We were very, very excited when we found this. There was a total of 16GB of RAM in the case. Somewhat more than we had expected to be putting in there right away. So right off the bat Nathan got a RAM upgrade. Also a PSU upgrade as the one in the case was about 100W bigger and had other comparable specs. Also a massive graphics card upgrade. Comparing the GT730 we had bought and the GTX550 that we found there was just about an exact doubling of the Cinebench OpenGL test. From 30 FPS to 60 FPS. It was a huge improvement.

This is how we tested the system initially. If my experience building computer has taught me anything, is that test at every possible point. In this case we tested with the absolute minimum of parts in the machine. RAM, PSU, CPU, CPU Cooler and Graphics card.

Unfortunately I got a bit excited and forgot to take a picture of the first POST screen. Suffice to say that it POSTed and I was very happy and there was much rejoicing.

After that we put everything in and got windows installed. Another very happy moment.
You may have noticed a funny circle in the front of the case:

This is actually a fan controller/temperature monitor that runs from 12V pulled from a molex connector on the power supply and (we guessed) 5V from a funny shaped connector neither of us recognise, let alone have attached to the PSU. So I did what I'm good at and came up with a solution. I cut the funny plug off then soldered the wires onto the 5V going to the power light. I checked the current draw on this when we tested that it was actually 5V using my benchtop power supply and the current draw was not registering on the scale, so less than 0.5 mA which I was quite happy to pull from just about anywhere.
The astute amongst you will notice that the above picture is showing an adapter for 20pin ATX power supplies to drive 24pin ATX motherboards. I had this lying around from another project that I ended up doing the right thing and buying a new PSU for.

The tricky thing about buying parts off ebay is that they may not always work together. The motherboard is from a HP Z400 workstation which looked fine on paper. However initially it wouldn't POST. This is because HP decided to use +12V on some of the pins of the 24pin plug where the ATX standard that everyone else uses at +5V and +3.3V. Not very useful. So I had to splice in this adapter that I already had to a molex Y-splitter so we can get the extra +12V power.
This is what it looked like before installation.

And here we see it in situ.

So there you have it, the build is finished and tested. In the next few days I will do another post detailing the parts list, final cost and some benchmarks (also some thoughts on that parts I used) so keep an eye out for those if you are interested.

If you want more detail on how to build a computer let me know. I have another build coming up in the next few weeks that won't be as crazy as this one but will still give me an opportunity to show how it's done in great detail.

Cheers,
Rex

Sunday, 21 February 2016

New NAS Server... Yay

My new server arrived. It is a HP Prolient DL 320S and has 12 drive bays in the front.

Unfortunately it only came with 3 drive caddies that will hold drives. There are 3 open spaces and the other 6 spaces are filled with blank things. Presumably to maintain proper airflow across all of the drives all the time. Unfortunately because of that they cannot be used for putting drives in. This means that for RAID 6  I need at least 4 Drives. Particularly if I want to keep my 2TB drive in there that I have at the moment I will need at least 6 more spaces for drives. So I need to get at least 2 more bays.

This is my precious. A 2TB SATA Hard Drive. This is really wat I have everything that I really don't want to lose on. As I said above I would like to move to a RAID 6 array for storage. However for now as long as I still have the space I can live with no redundency for now.

It boots !

It even has a GUI. Surely the first thing I have used in a while that has a GUI for system management stuff.

However the first problem I have found with the software I'm using. The GUI only shows support for Ext2. The 2TB drive has my data on it in an Ext4 partition. This is my only drive this big. Thankfully there is less than 1TB of data on it which means that I can use my external Hard Drive. Unfortunately it is currently also formatted Ext4.

So with the 2TB drive plugged into my only other computer that can plug into it, I have also connected my external drive and am reformatting the external drive.
This would be only a little bit dodgy. However apparently formatting a drive in Windows Vista takes a long time. It's been a few hours but it is still only at 20% so this will be sitting until tomorrow afternoon. Such is life.

But I have found a new home for the NAS. For now anyway.
It is on the floor but I don't think it will be a problem. It will probably be moving a fair few times yet so this won't be the last place it lives I dare say.

So the beginning for a very exciting project. But still a little way to go before I am happy with the way it is set up.

Cheers,
Rex