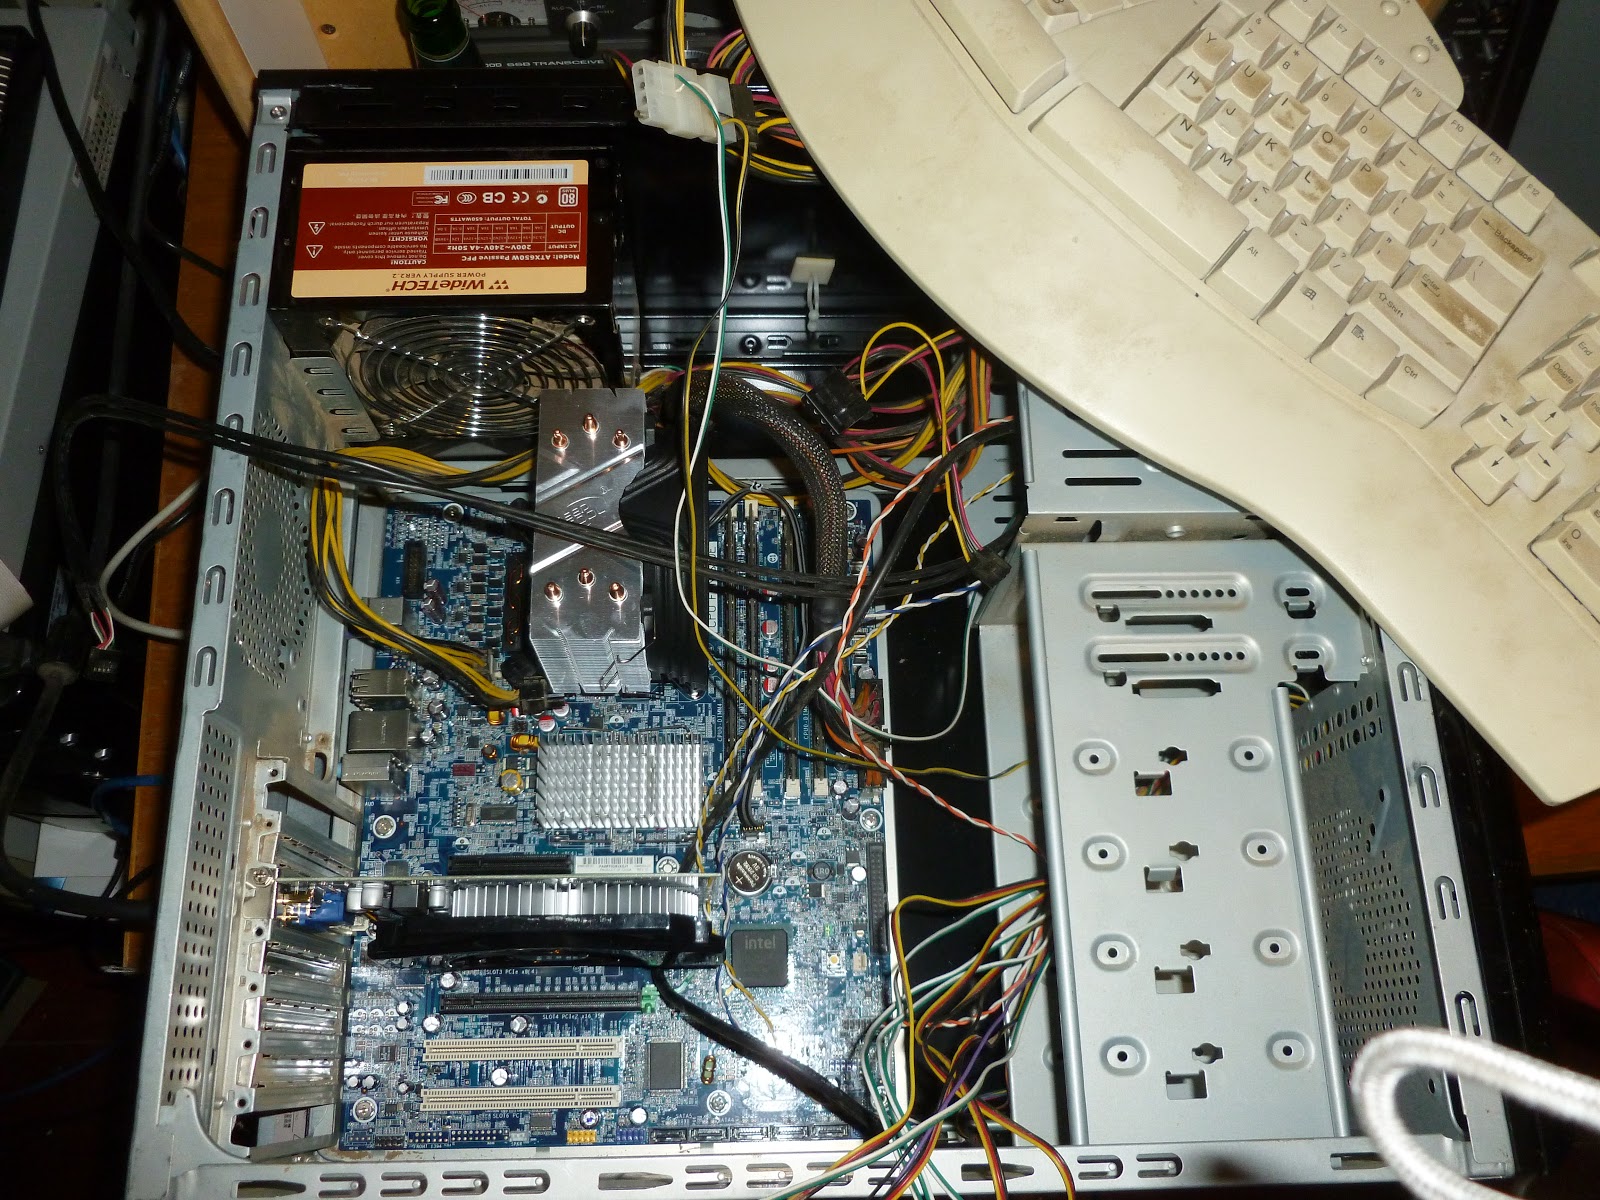
So the computer I have been building for my younger brother Nathan is now finished. He now has it at his home and is finalising the driver install and starting to set up the games that we actually built this machine for. We managed to save quite a bit of money by finding a case which actually had nearly everything we need inside it.
It was a little grotty but we needed a case and DVD drive. While we also didn't need anything else that was in the case we made good use of it because it brought the total system cost down for Nathan. In the end we had ordered RAM, a Power Supply Unit and a graphics card that we ended up using from this machine because the ones in here were better than what had been ordered.
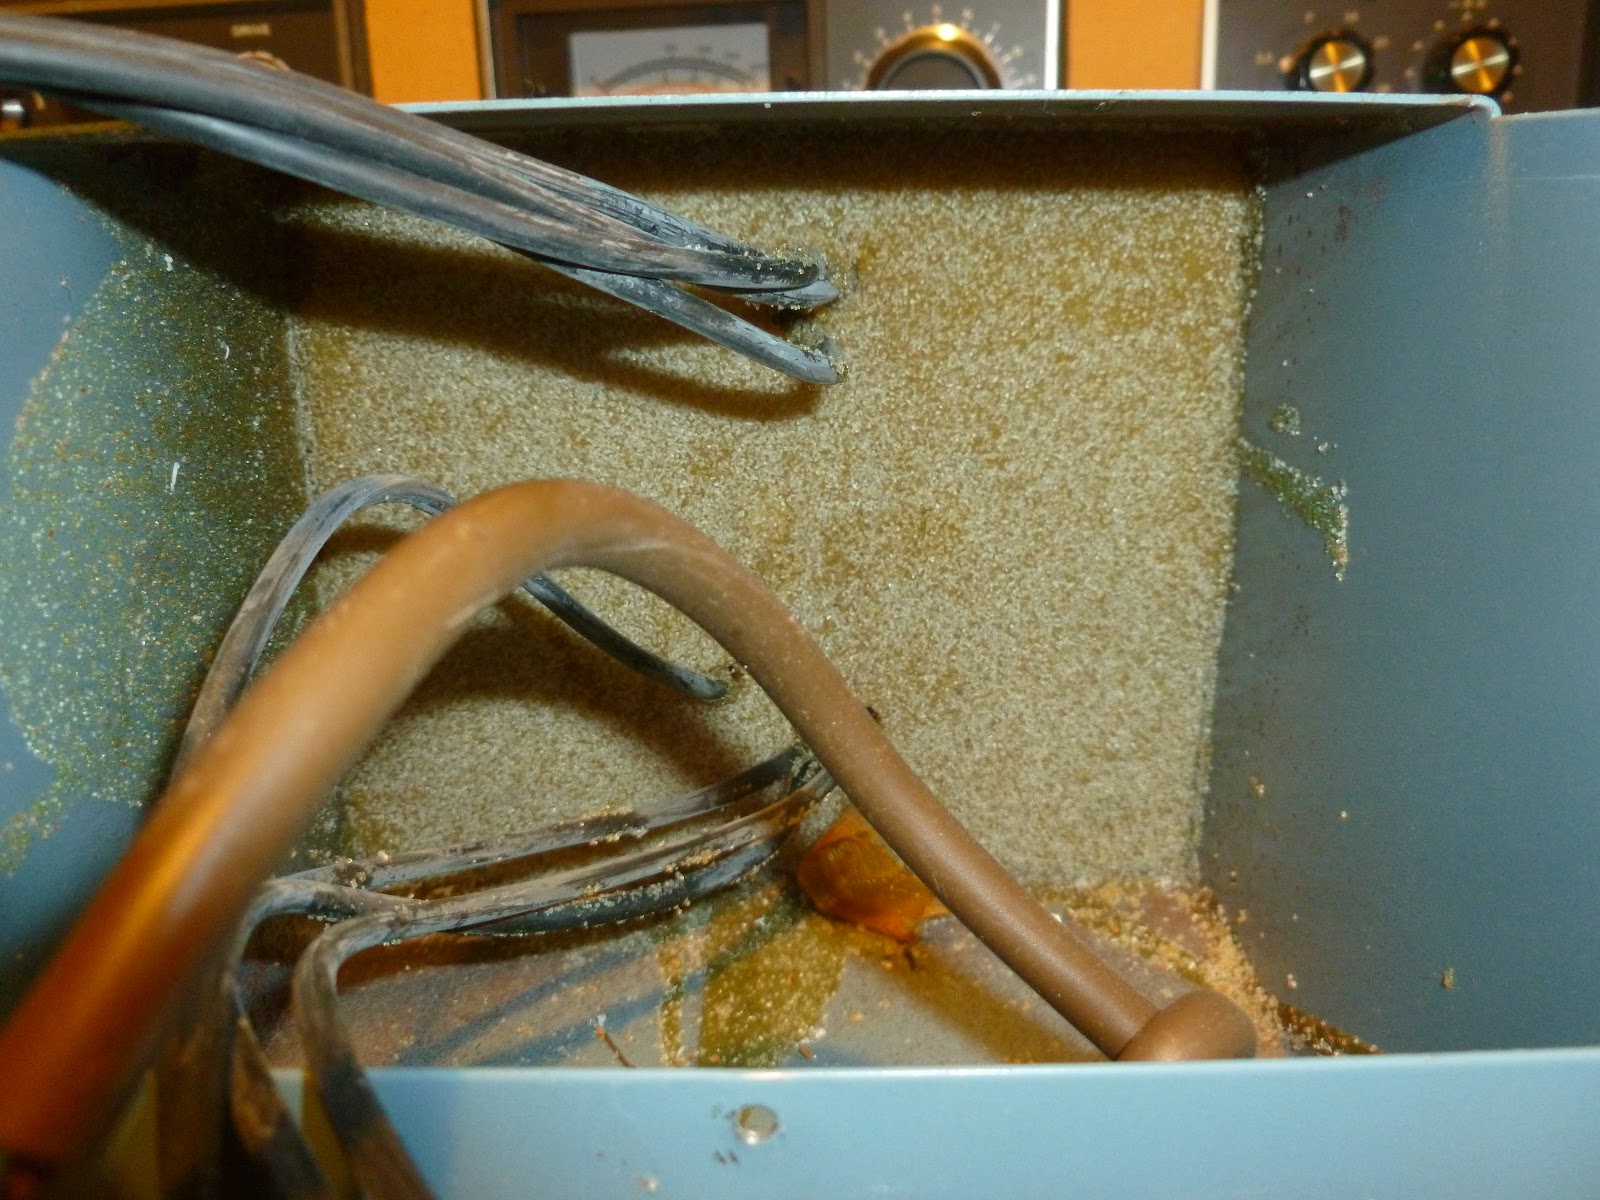
Unfortunately it was very dirty and dusty. We tipped it up on end and all this fell out onto my nice, clean(ish) carpet. Luckily I had Nathan there to help me, so after removing everything from the case he cleaned it all with the vacuum cleaner and did a fairly good job of it I must say.
We were very, very excited when we found this. There was a total of 16GB of RAM in the case. Somewhat more than we had expected to be putting in there right away. So right off the bat Nathan got a RAM upgrade. Also a PSU upgrade as the one in the case was about 100W bigger and had other comparable specs. Also a massive graphics card upgrade. Comparing the GT730 we had bought and the GTX550 that we found there was just about an exact doubling of the Cinebench OpenGL test. From 30 FPS to 60 FPS. It was a huge improvement.
This is how we tested the system initially. If my experience building computer has taught me anything, is that test at every possible point. In this case we tested with the absolute minimum of parts in the machine. RAM, PSU, CPU, CPU Cooler and Graphics card.
Unfortunately I got a bit excited and forgot to take a picture of the first POST screen. Suffice to say that it POSTed and I was very happy and there was much rejoicing.
After that we put everything in and got windows installed. Another very happy moment.
You may have noticed a funny circle in the front of the case:
This is actually a fan controller/temperature monitor that runs from 12V pulled from a molex connector on the power supply and (we guessed) 5V from a funny shaped connector neither of us recognise, let alone have attached to the PSU. So I did what I'm good at and came up with a solution. I cut the funny plug off then soldered the wires onto the 5V going to the power light. I checked the current draw on this when we tested that it was actually 5V using my benchtop power supply and the current draw was not registering on the scale, so less than 0.5 mA which I was quite happy to pull from just about anywhere.
The astute amongst you will notice that the above picture is showing an adapter for 20pin ATX power supplies to drive 24pin ATX motherboards. I had this lying around from another project that I ended up doing the right thing and buying a new PSU for.
The tricky thing about buying parts off ebay is that they may not always work together. The motherboard is from a HP Z400 workstation which looked fine on paper. However initially it wouldn't POST. This is because HP decided to use +12V on some of the pins of the 24pin plug where the ATX standard that everyone else uses at +5V and +3.3V. Not very useful. So I had to splice in this adapter that I already had to a molex Y-splitter so we can get the extra +12V power.
This is what it looked like before installation.
And here we see it in situ.
So there you have it, the build is finished and tested. In the next few days I will do another post detailing the parts list, final cost and some benchmarks (also some thoughts on that parts I used) so keep an eye out for those if you are interested.
If you want more detail on how to build a computer let me know. I have another build coming up in the next few weeks that won't be as crazy as this one but will still give me an opportunity to show how it's done in great detail.
Cheers,
Rex